

Finding electricity aboard a sailboat can be a serious hassle, especially if you’re living aboard with a family. Everything eats electricity. Lights eat electricity. Fans eat electricity. Bilge pumps eat electricity. Nav equipment eats electricity. Computers for blogging eat electricity. Children seem to eat electricity. Teenage children eat more electricity than standard children. And refrigeration eats electricity in ways I’d never imagined.

As long as you’re motoring along this presents no problem because the motor – even a diesel – will be equipped with an alternator that will happily crank out kilowatts as it chugs away. But then when you stop you need batteries to store the extra watts you’ve produced, and if you’re not planning on running the diesel (and this is, after all, a SAILboat), you need to figure out how to produce electricity while you’re sitting at anchor.
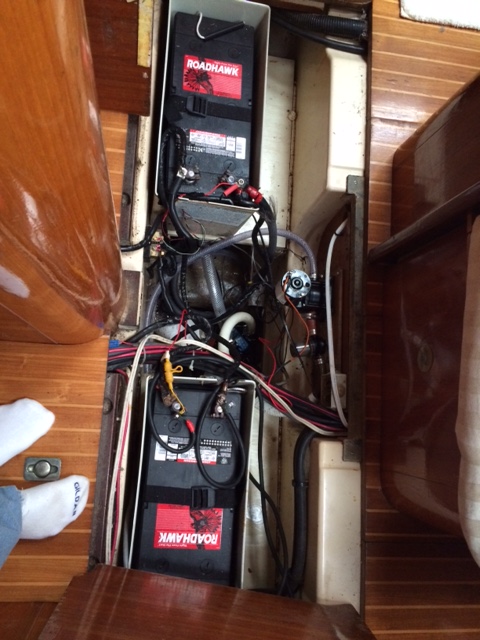
On Perseverance we find that we go through about 250 amp hours per day, and since your batteries, for inscrutable reasons understood only by electrical engineers and by the batteries themselves, dislike being discharged more than 50%, we sized our battery bank at 520 amp hours in the form of two 12 volt 4D batteries wired in parallel, and two 6 volt golf cart batteries wired in series.
For producing electricity, sailors have four basic options. They can run their diesel while at anchor, but that’s both noisy and smelly. They can run a generator, usually called a “genset” for a few hours a day, but most gensets run on gasoline, which is expensive, potentially dangerous, and difficult to store in quantity. They can run a wind generator mounted to a pole on the transom. Or they can install photo-voltaic cells, or solar panels, as they’re commonly called.
We decided to go with solar panels.
As we considered where to place them, we also realized that having the ability to lift things off the water at the stern of the boat – specifically the dinghy or the dinghy motor – would be a total bonus. Trying to wrassle the 80 lb outboard motor on and off of the stern of the dinghy with one foot on the moving dinghy and one on the sugar scoop of the heaving boat without doing the splits and dropping the motor in the drink is a very special kind of fun that grew old the very first time we tried it.
We really wanted to add an arch to the stern of the sailboat. They’re extremely useful and strong, and they look cool, too. Unfortunately, though, having an arch made is extremely expensive, like 5 or 10 grand expensive, which was way out of our budget. After consulting google for a time, I found a company called Atlantic Towers which produces an arch in kit form that you can modify to fit your boat, coming in at around $2000. Much better, but still not as cheap as a set of used davits, which were our other option. And then, lurking on a thread in Cruisers World, I found a cryptic allusion to a Fish On arch, which, the poster said, would run Atlantic Towers out of business because their product was so good and so cheap.
I investigated immediately, read a few reviews, and decided to pull the trigger on their Deluxe Senior Admiral model. 1150 bucks, shipped and at my marina in 3 business days. http://www.fishonsports.com/fiar.html
It’s an outstanding product made from thick-walled schedule 40 aluminum tubes that are beautifully curved and cleanly welded. Great workmanship.

The installation on a sailboat takes a little thought, because the arches are made primarily for fishing boats that have plenty of flat deck surfaces, but with some imagination and a lot of head scratching I was able to install the arch in a couple of days while the boat was on the hard with about an hour’s worth of help from somebody else in the yard for finally bolting the arch feet in place.

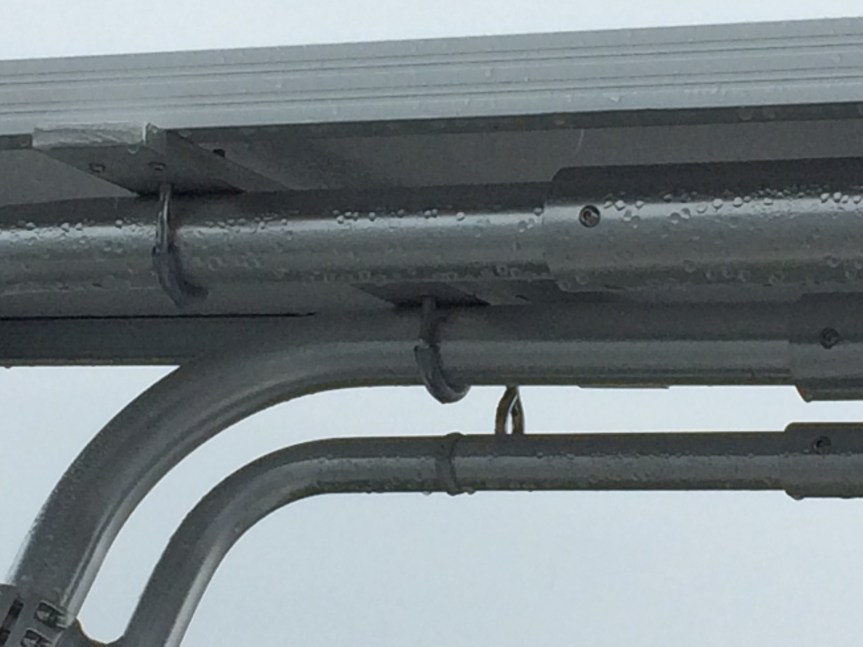
Fish On also sells solar panel installation kits, but I decided to make my own out of 1/2 x 3″ aluminum bar stock and some eye bolts and U bolts. I used some clear tubing to act as a cushion between the bolts and the bars, and trimmed the ends of the u bolts so that they would be short enough to install the solar panels over, and used locking nuts and fender washers to hold everything fast. I then used 10×24 screws and locking nuts to fasten the flanges of the panels to the bar stock. It all worked out very well, and the panels haven’t moved in any wind they’ve seen so far.
For the solar panels themselves, I found a deal on ebay for two 160 watt panels from High-Tech Solar for $320, shipped. After reading handy bob’s blog on solar installation (https://handybobsolar.wordpress.com/the-rv-battery-charging-puzzle-2/) I was planning on installing the panels in parallel and running 4 gauge wire to the solar charge controller, but I have such a long wire run on Perseverance that even with 4 gauge – which is pretty heavy stuff – I was still looking at some significant voltage drop. To get around this I wired the panels in series, giving a nominal 34 volts or so and dropping the amperage to around 9 or so, and running more manageable 8 gauge wire. I chose a Midnite Solar “Kid” MPPT controller. When I got the whole thing up and running I was showing an actual voltage of 44 volts with negligible voltage drop, and the controller, even with the oblique angles of the sun on winter days, is socking away around 10 or 12 amps per hour. On warmer days I’m figuring that number will go up to around 15 or so.

Looks AMAZING! Be Safe! MERRY CHRISTMAS!!!
LikeLike
Thanks Matt! Love from all the gang here. Merry Christmas!
LikeLike